Build a Panel Plugin
This guide assumes you’re already familiar with software development fundamentals—no basic programming lectures here. If you’re ready to build a Grafana plugin, our step-by-step video tutorial, led by Daria, is designed to get you started quickly.
We’ve split the tutorial into three parts. If you find this format helpful, please show your support by liking the videos on YouTube and leaving a comment!
Part 1: Getting Started
Relax and watch Daria create a panel plugin from scratch—or follow along to build your own, complete with version control setup by the end.
Steps Covered:
- Step 1: Prerequisites
- Step 2: Scaffolding
- Step 3: Setting up VS Code
- Step 4: Installing dependencies
- Step 5: Building the plugin
- Step 6: Starting a Grafana instance
- Step 7: Logging into the Grafana UI
- Step 8: Creating a dashboard
- Step 9: Provisioning
- Step 10: Rebuilding the Grafana container
Part 2: Enhancing Your Plugin
Daria continues with the next phase, guiding you through additional development and version control steps.
Steps Covered:
- Step 11: Setting up version control
- Step 12: Updating Grafana version
- Step 13: Updating dependencies
- Step 14: Committing to GitHub
- Step 15: Configuring the plugin.json file
- Step 16: Adding plugin options and types
- Step 17: Updating the component
- Step 18: Committing changes to GitHub
- Step 19: Updating styles
- Step 20: Adding a data source
Part 3: Testing and Publishing
This in-depth part dives into testing, automation, and the plugin submission process—packed with practical insights.
Steps Covered:
- Step 21: Unit tests and GitHub Continuous Integration
- Step 22: End-to-end (E2E) tests
- Step 23: Signing the plugin
- Step 24: Setting up a release workflow
- Step 25: Submitting the plugin for review
- Step 26: Converting a private plugin to a community plugin
Highlights from Part 3
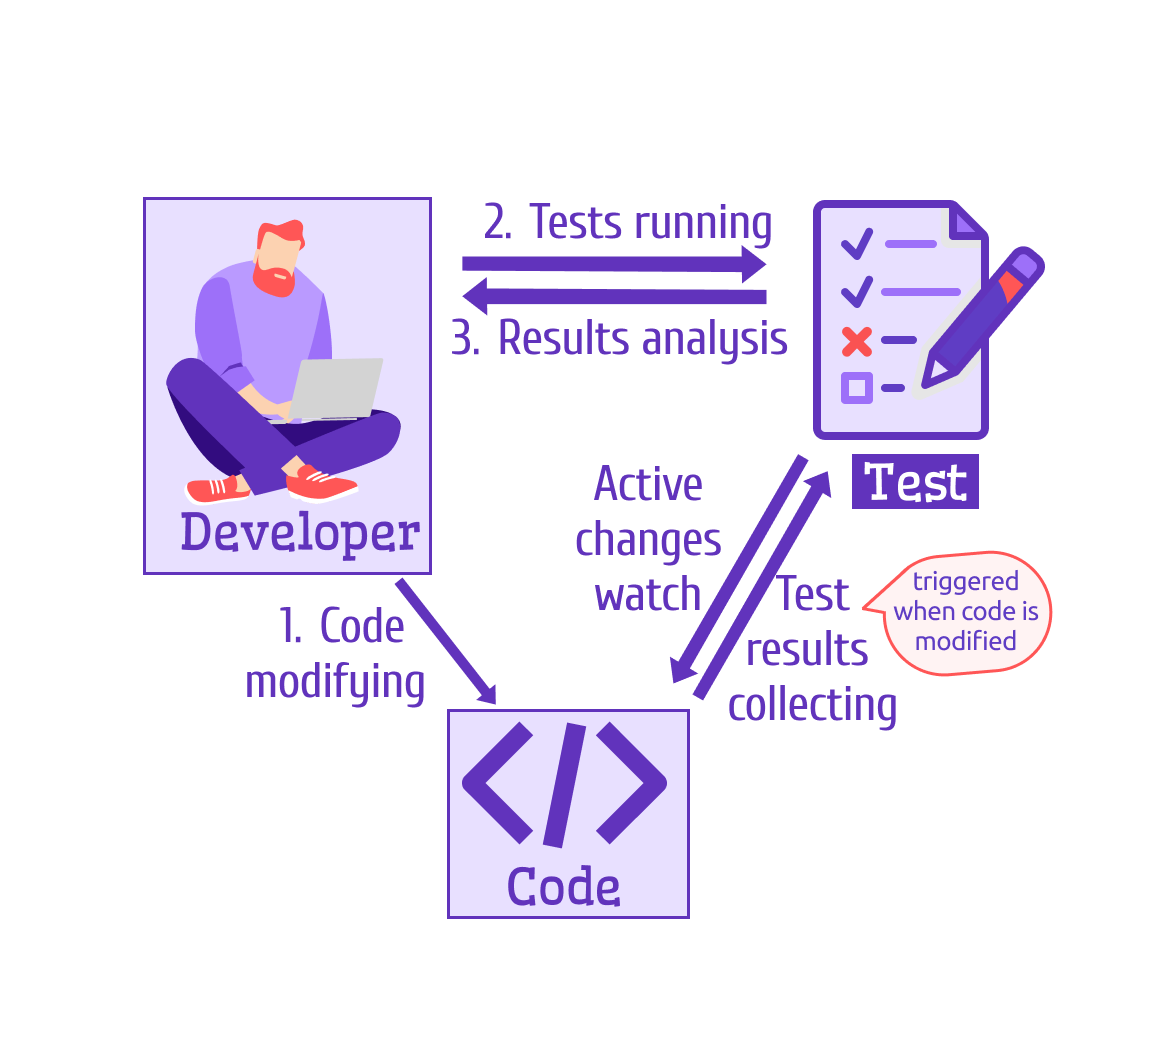
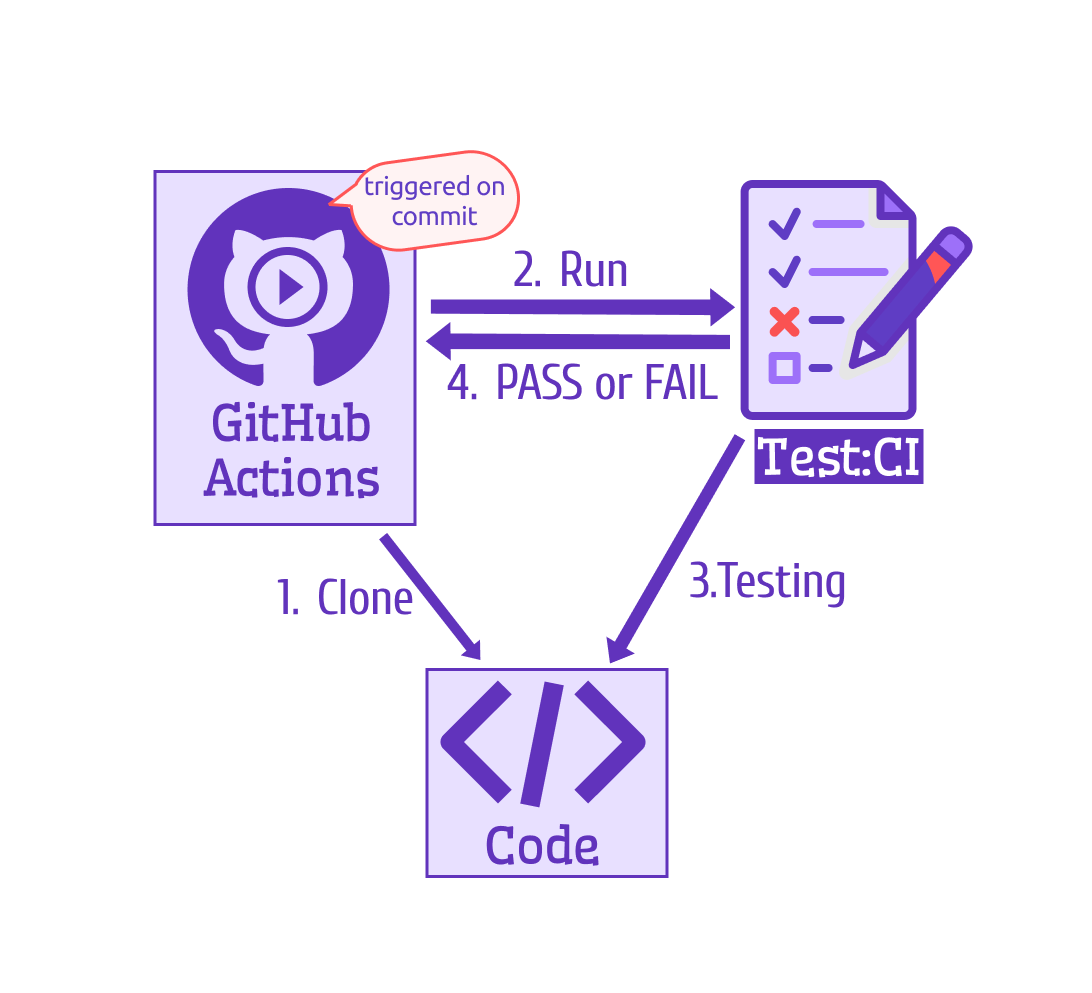
Unit Tests
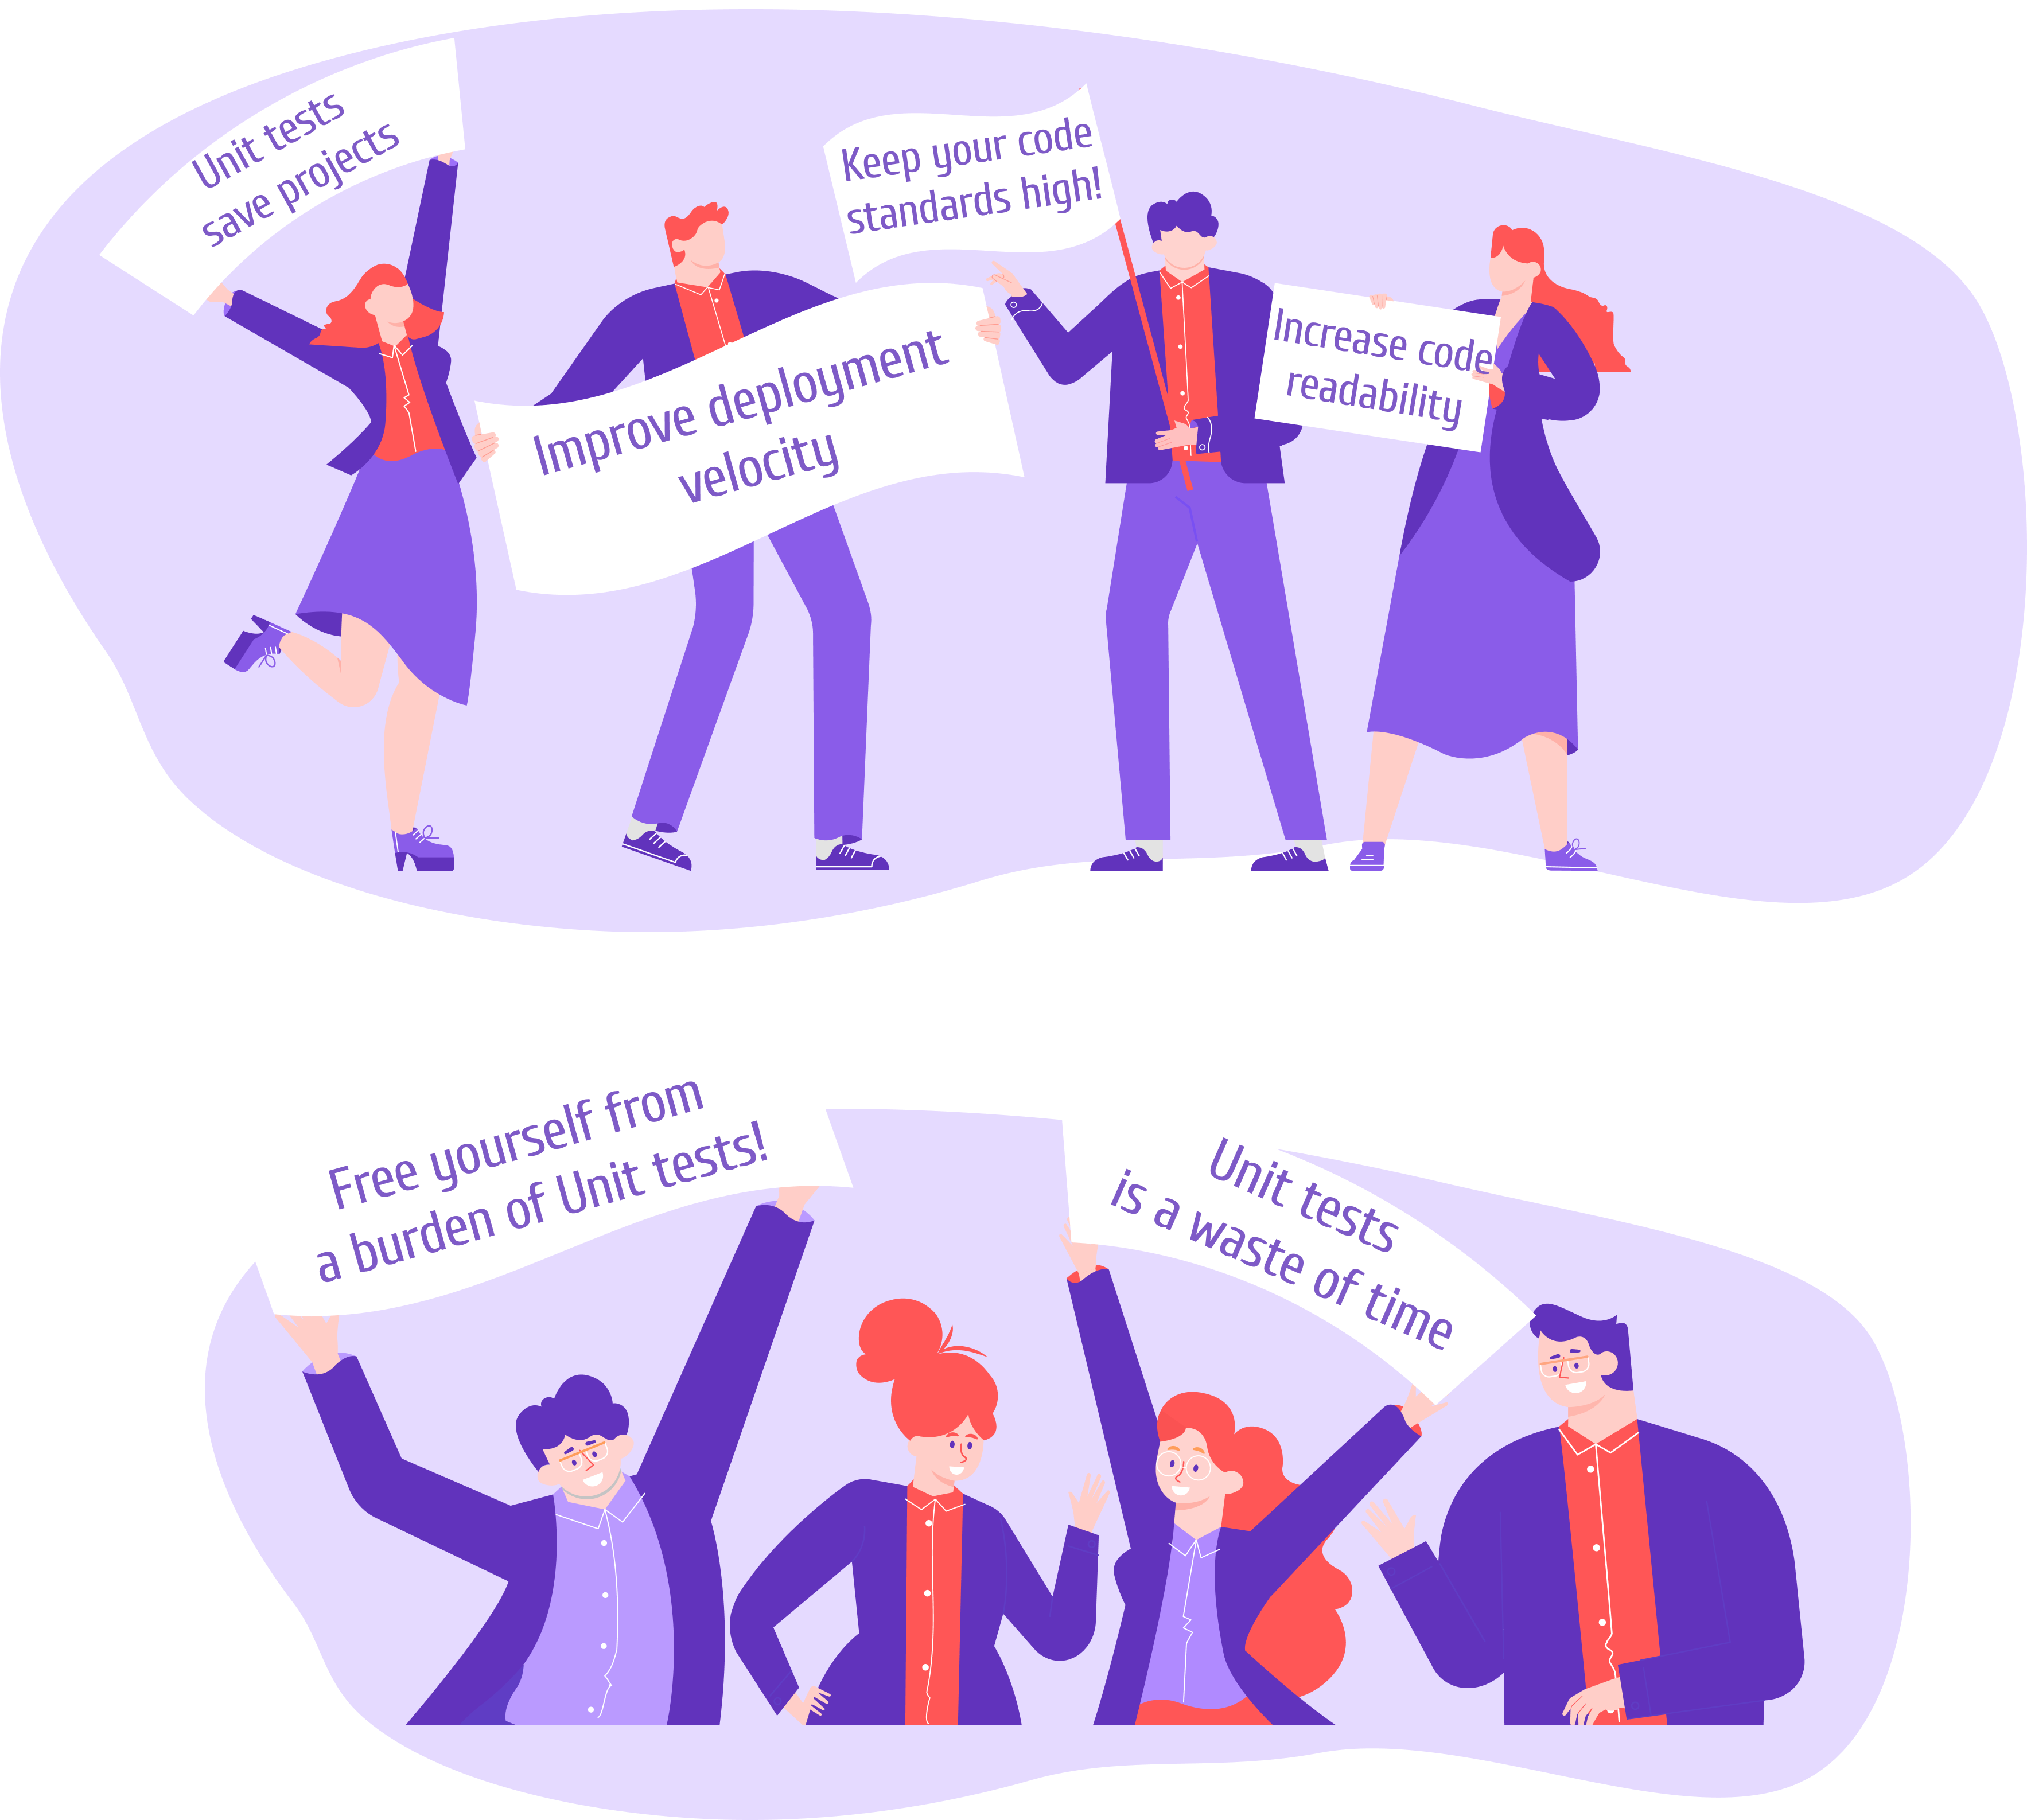
We rely on unit tests in our projects, targeting at least 90% coverage. Grafana’s plugin tools include two built-in test scripts: test and test:ci. The diagrams below illustrate their differences.
 |  |
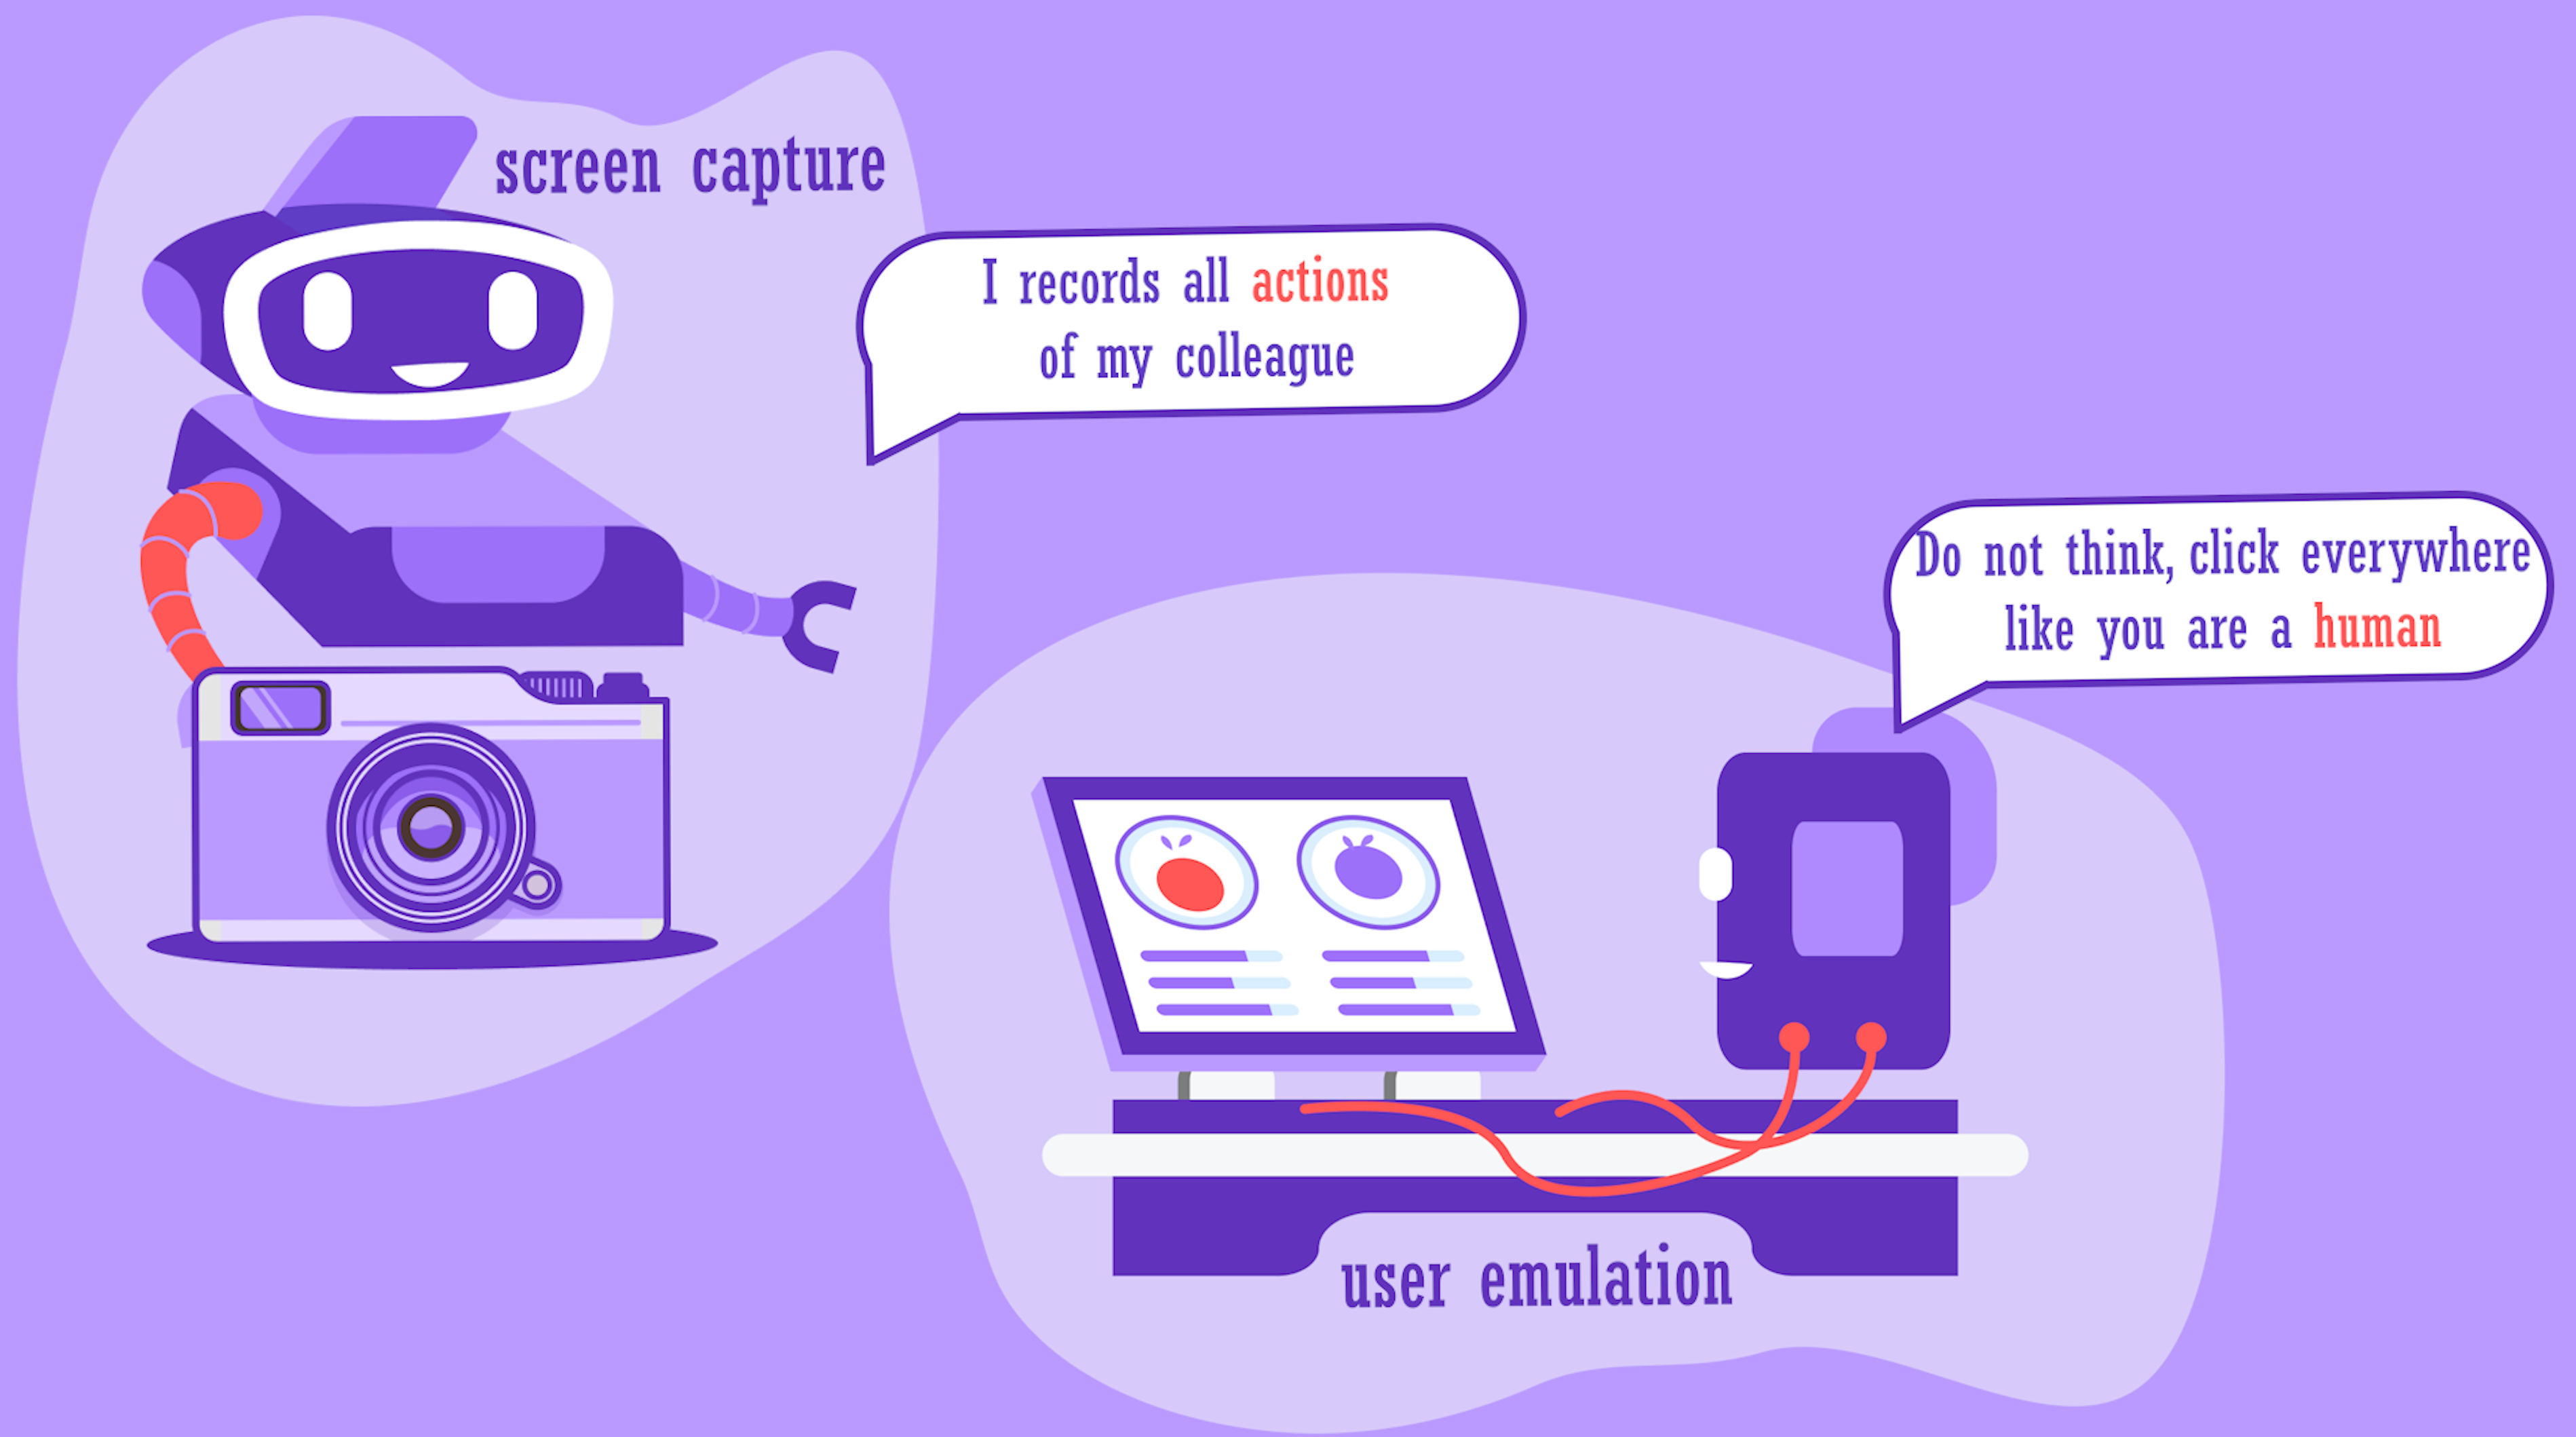
End-to-End (E2E) Tests
E2E tests simulate human interaction with your application. While they can be challenging and prone to false positives, we find them valuable and recommend incorporating them into your plugin development workflow.